
My son wanted to be Geo from Team Umizoomi for Halloween so I needed to come up with a way to make a nice looking space helmet for him. I had a crazy idea to try building one with a balloon, expanding foam, and bondo. I hoped it would turn out like a real helmet, but wasn’t sure. Well, I gave it a try and it turned out pretty neat, so I will share my technique with you in case you want to give it a try.
I’ll warn you before you begin… this is a time consuming process. Also, the spray foam and bondo don’t make this an inexpensive build. I built this because I thought it would be cool to use these materials. You may find a better way to achieve a similar result.
Supplies
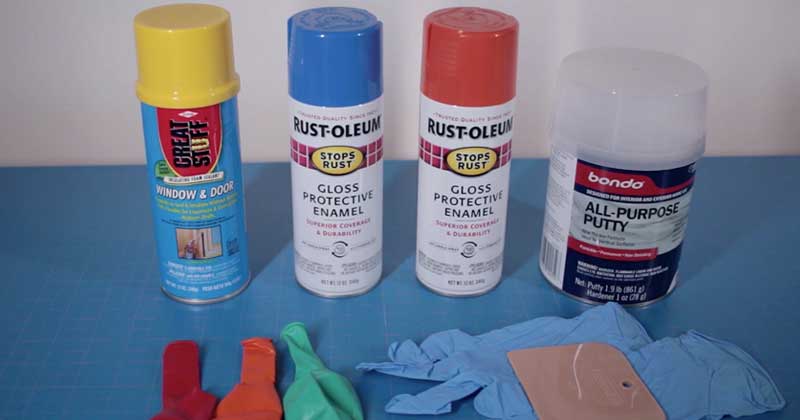
You’ll need a balloon, a can of expanding foam, bondo, paint, and gloves. You’ll also need a marker, a knife for trimming the foam, and sandpaper. Finally, you’ll need to think of a good place to hang / place the balloon to dry while the foam is curing.
Step 1: Inflate and mark balloon

Inflate a balloon to slightly larger than your (or your child’s) head. It is helpful to take some measurements to get things right. Next, you’ll want to use a marker to draw a line for the edge of the helmet. I tilted the balloon slightly because the balloon doesn’t quite mimic the head shape. This doesn’t have to be perfect, but try to get it close.
Step 2: Cover balloon with expanding foam
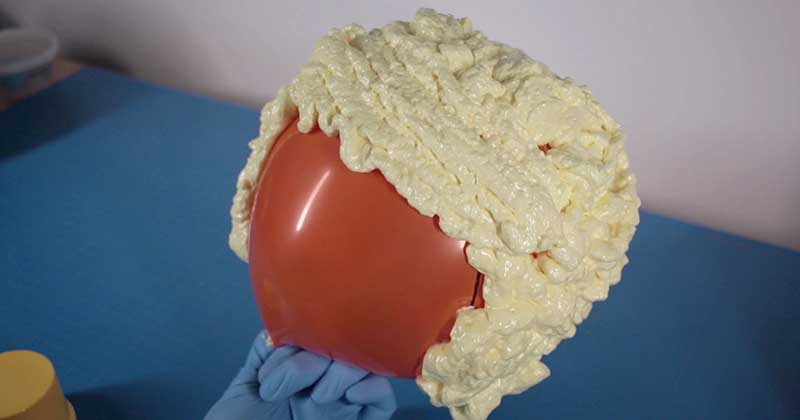
Once your balloon is marked, it is time to spray the expanding foam all over the portion of the balloon where you want the helmet to be. This gets really messy so make sure to wear gloves and put down some newspaper. If you get the expanding foam on anything it is very difficult to remove.
Since I hadn’t worked with expanding foam before, I thought it would be a good idea to smooth it with my hand. Boy was I wrong! The foam just collaped into a sticky mess since I popped the air bubbles in it. If that happens, just spray a bit more in that area. Also, the balloon with all the foam sprayed on it was heavier than I expected. I didn’t plan ahead on where I would put it to dry, but you should.
Step 3: Hang to dry… carefully
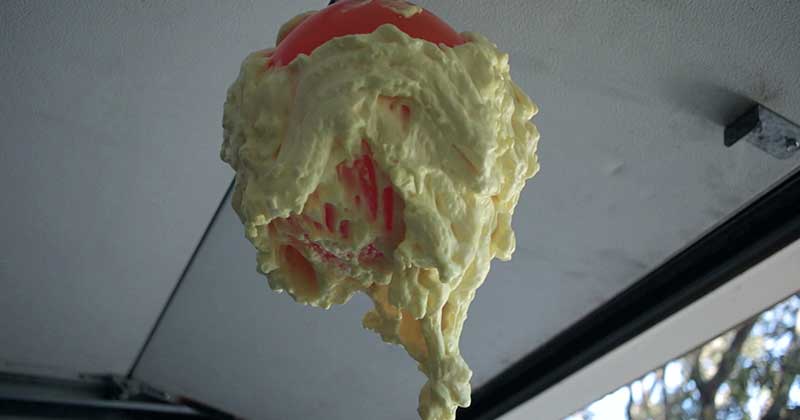
I hung the balloon to allow the expanding foam to dry. At first it seemed like a great idea. I left it alone and came back a half hour or so later to find the foam dripping off as shown above. I though the project was over right here, but it didn’t end up as bad as I thought. If you can come up with a way to hold the balloon upright while the foam is drying, that may work out better.
Step 4: Fill the gaps and wait for it to dry
Since the foam dripped while it was drying, I had to fill in some gaps with extra expanding foam. This time it was much easier to balance the balloon upright and let it dry one final time. When I was finished, the foam coverage looked pretty good.
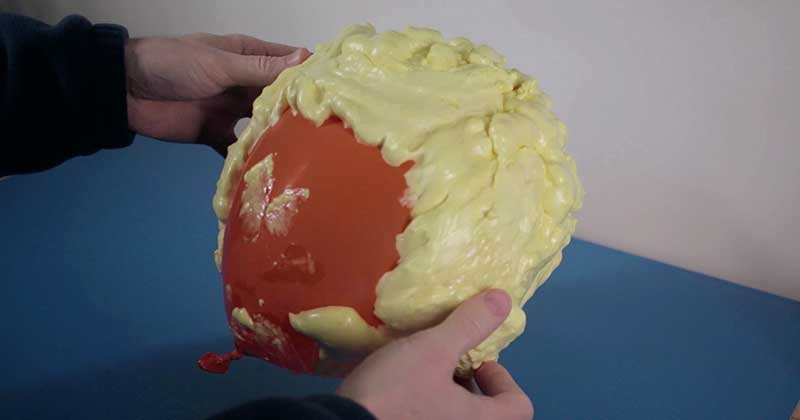
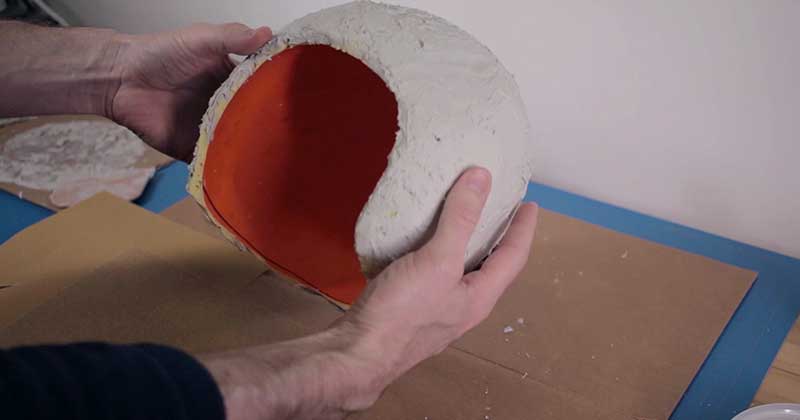
Step 5: Cut the balloon
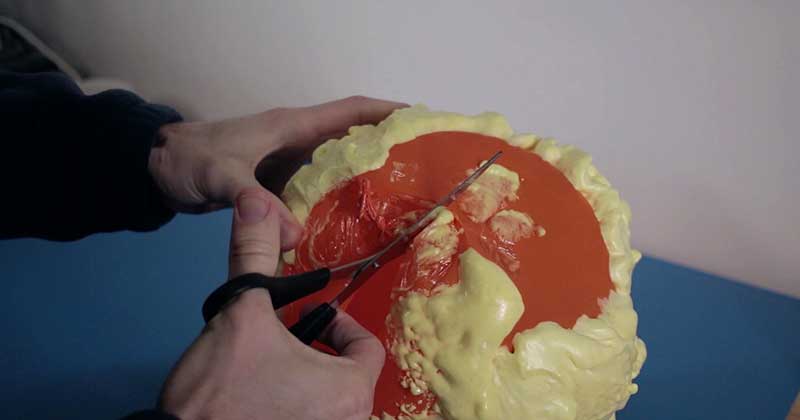
After the expanding foam dries thoroughly, you can begin to cut out the balloon. Don’t try to rip the balloon away from the foam. It will be stuck well and the balloon also makes a great liner. Just cut along where you want the edge of the helmet to be.
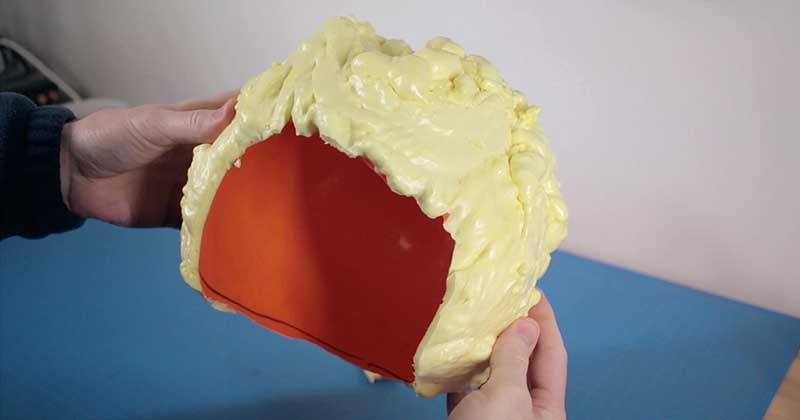
When you are finished cutting, you will see the helmet really starting to take shape. Now is a good time to try it on to make sure it will fit. If you have to flex the foam to get it to fit you will be in trouble because it won’t flex once the bondo is applied.
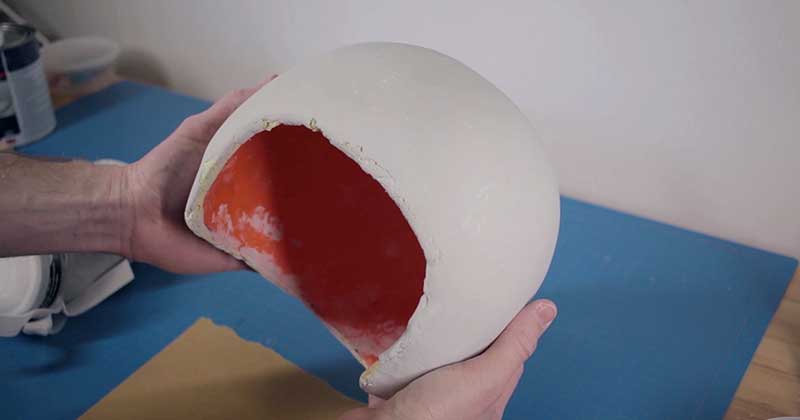
Step 6: Trim the excess foam
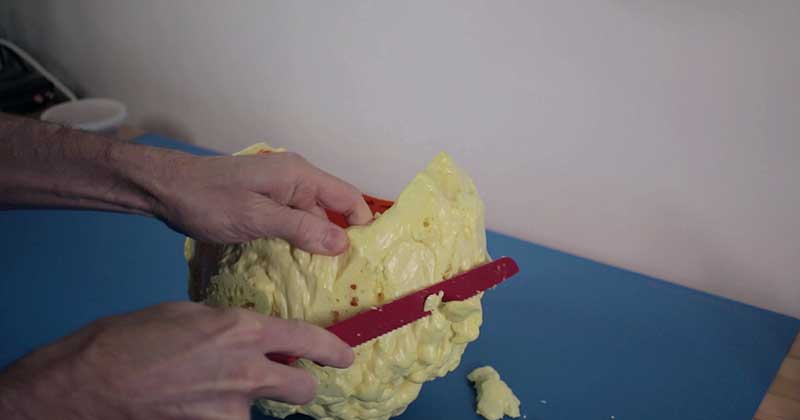
Now, you can take a knife (I used a bread knife) and trim away the excess foam to get the shape you want. Be careful not to trim all the way down to the balloon. I tried to leave about an inch thick portion of expanding foam all the way around to give the helmet some volume.
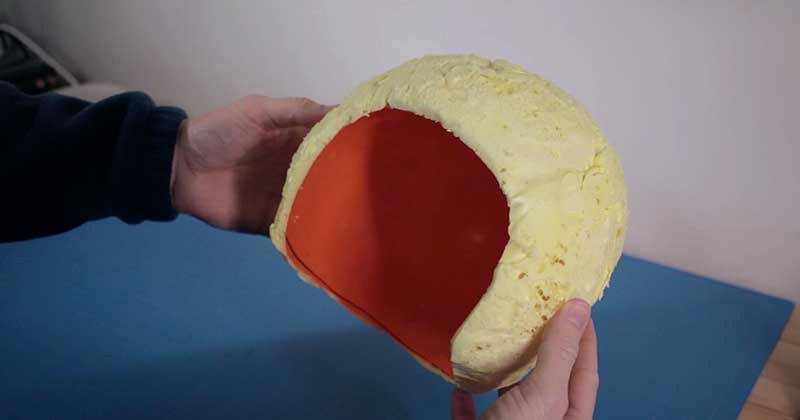
When you are done, it will look something like the picture above. If you spend a lot of time shaping the helmet in this step, you won’t have to apply as much bondo. That’s a good thing because the bondo adds a lot of weight.
Step 7: Apply first coat of bondo and sand

Mix up some bondo and begin to get an even coat over the whole helmet. Mix it in small batches because it dries really fast (somewhat dependent upon the amount of hardener used). I followed the instructions and I’d say I only had about 2 minutes to work with the bondo while it would spread smoothly. After that it would start to clump and was harder to work with.
Don’t be afraid to use your hands (with gloves on!) to smooth the bondo as it dries. Also, I sanded the bondo before it cured and it seemed easier since it was still a bit soft. If you want even 15 minutes, it will take a lot more sanding.
Step 8: Apply second coat of bondo and sand lots more
The goal of the second coat of bondo it to fill in imperfections and make the helmet as smooth as desired. If you want battle damage or whatever, you can do that here as well. I wanted mine pretty smooth but with some craters since it was a supposed to be a space helmet.
Lots of sanding here can make for a really smooth finish. By the time you finish this step, the surface of the helmet needs to be just how you want it. When we apply paint, it will show any flaws left over.
Step 9: Time to paint
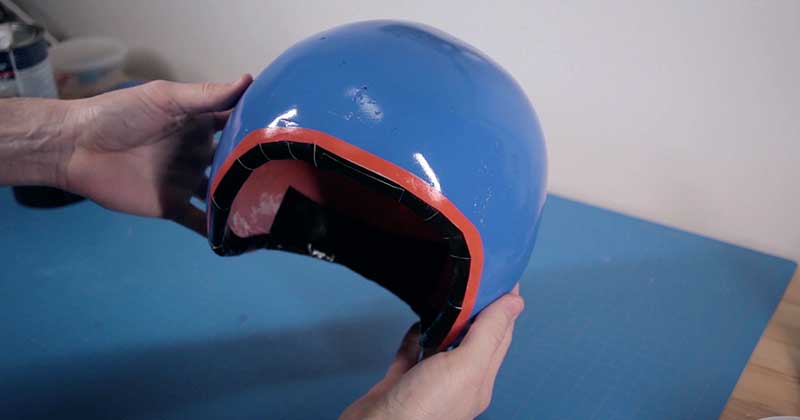
Here you can see I have applied a few coats of paint. I first applied some orange, then I taped it off and applied the blue. I also used some black tape on the edge of the helmet since the edge seemed prone to chipping. I also liked the look.
Step 10 : Apply finishing touches
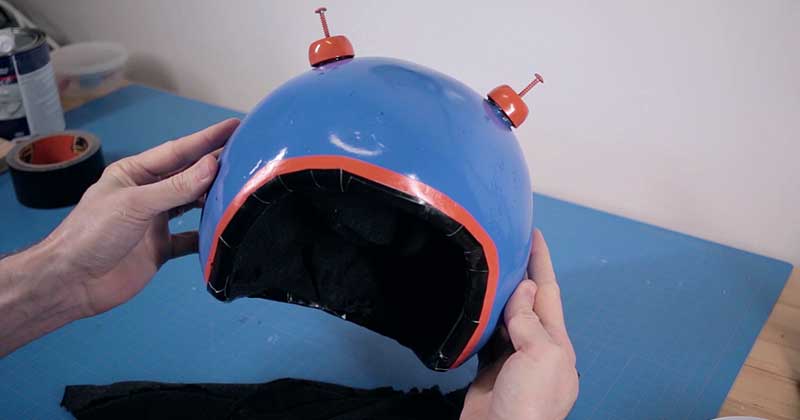
The Geo helmet is supposed to have some little antennas on it. I used some baby food caps and screws that I painted orange. Then, I just hot glued them right to the helmet. I also cut up an old t-shirt and glued it to the inside of the helmet to add some cushion and make it look complete.
Conclusion
I would imagine that just about any costume helmet, or even other props, could be built this way. The helmet has a really solid feel and I expect it will also be fairly durable.
Although the technique wasn’t easy, I was happy with the way this helmet turned out. My son loved his Halloween costume, so I would definitely call that a win.
I really hope you enjoyed the build. If you decide to give it a try please let me know how it works out. Also, please subscribe to my youtube channel and newsletter to stay up to date with my latest projects.


If you'd like to comment on this article, please share on social and tag me so I can engage with you there. Thanks!